A couple of years ago, a friend and I got together to test out some patina recipes.
Elizabeth made a batch of bronze wire spirals that we would be using as testers.
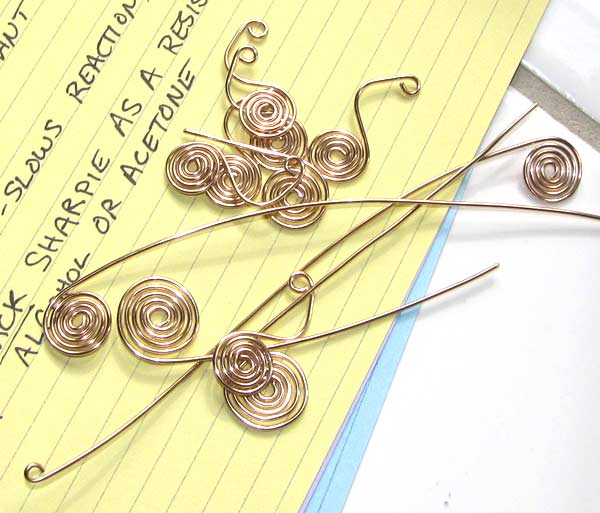
I had some copper shapes… and a few brass disks. So we had three metals to experiment with.
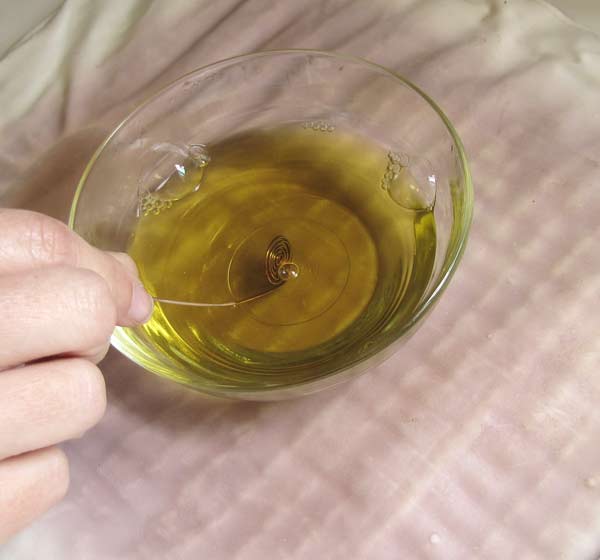
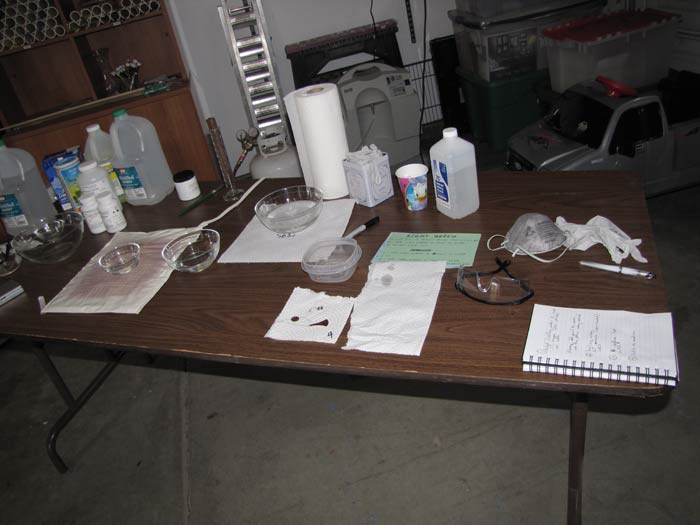
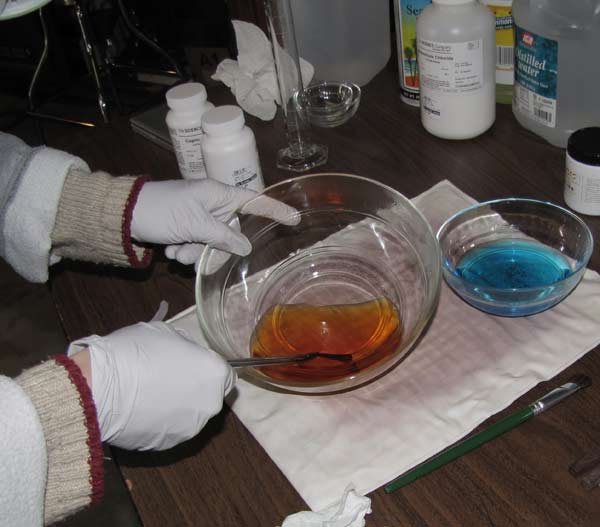
This was our work space and set-up. We cleaned the metal two ways. Some pieces were given an alcohol bath (shown) and some pieces were cleaned with Penny Brite (a copper cleaner that is basically citric acid and soap).
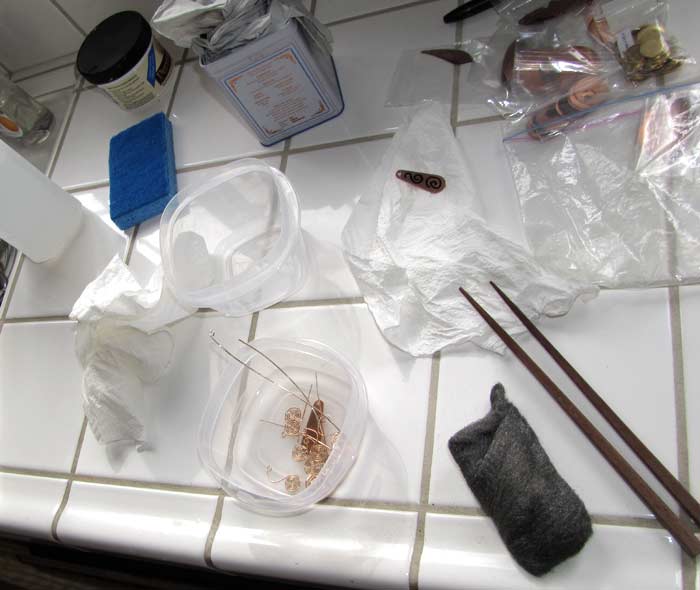
We used a Sharpie marker to create resist patterns.
Liver of sulfur recipes with household ingredients was our starting point.
Although I’m sharing with you our methods and results, keep in mind this is not instructions or a tutorial.
That being said, I will still mention some basic warnings. As Elizabeth wisely reminded me, never add water to an acid; always add the acid to the water. And use protective gloves, goggles, respirators, and aprons.
LOS (liver of sulfur) comes in three forms that I know of (and have used).
Premixed liquid (easy to find at bead shops), but it's easy easy to use it up fast.
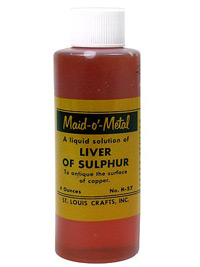
Solid LOS (dry chunks) that you mix with water as needed.
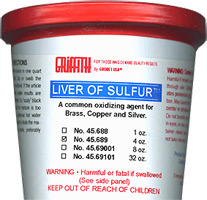
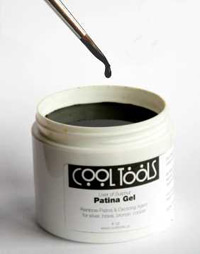
And premixed gel LOS which I think is the easiest and lasts the longest (a little goes a long way).
Test 1
1 cup of boiled, distilled water
1 tablespoon of distilled white vinegar
1 measure of liver of sulfur (dip a plastic knife or popsicle stick, etc about ½ an inch)
Here the set-up for test 1.
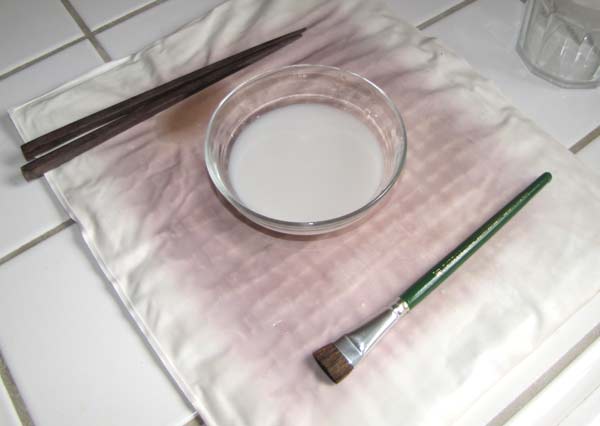
The mixture is opaque so a "dunking basket" could come in handy to be able to find small pieces.
The paint brush was used to get the LOS gel (using the butt end of the brush to dip)
You can keep the bowl on a heating pad or mug warmer. Warm LOS works better than cold... or works faster. But it's not a crucial step.
We immersed our pieces for 1-3 seconds then lifted them out to see the reaction. We ran tap water over the piece to check the progress. You can also just have a bowl of plain water handy for the same purpose.
Continue dipping to increase the intensity of the patina, but if your reaction goes faster than anticipated, your piece can darken past where you wanted it. Sometimes if you go too fast (if the patina darkens too quickly) you get a coating of dark patina that flakes off. That's why I prefer to have a weak solution of LOS and just take my time.
We had a bowl of plain water mixed with baking soda as the final dunking place for the pieces. This alkaline bath arrests the patination process. Your pieces can continue to darken if you don't use this step. Rinsing with water may not be enough to stop the process.
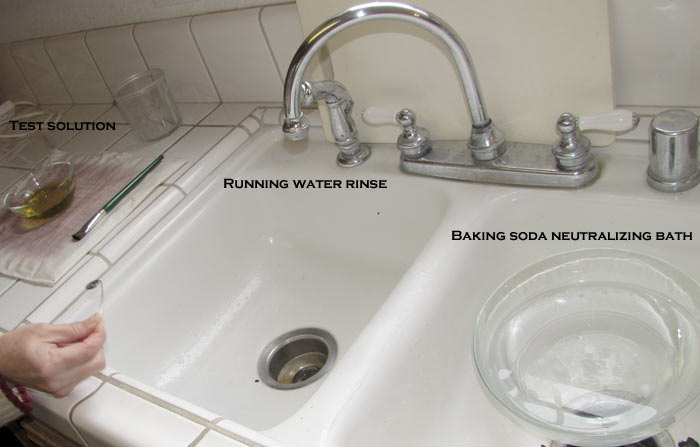
We numbered our paper towels so that the results and the tests could be kept in order and we kept notes along the way (along with photos).
Here are the results of Test 1. A warm patina with reddish undertones.
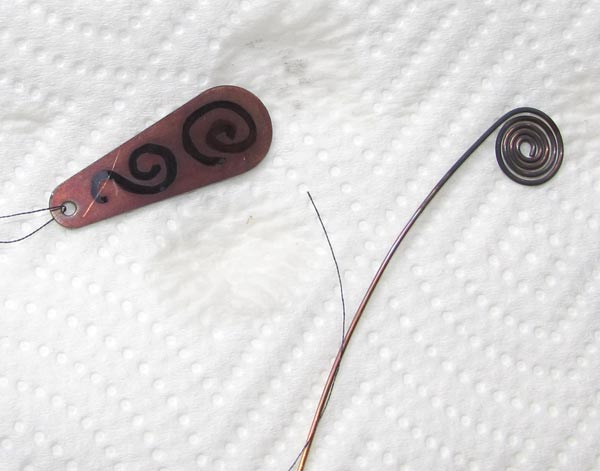
After neutralizing, we dipped a q-tip into alcohol (plain household rubbing alcohol) and removed the sharpie marker resist. This ended up being the only piece where the resist left a dark effect.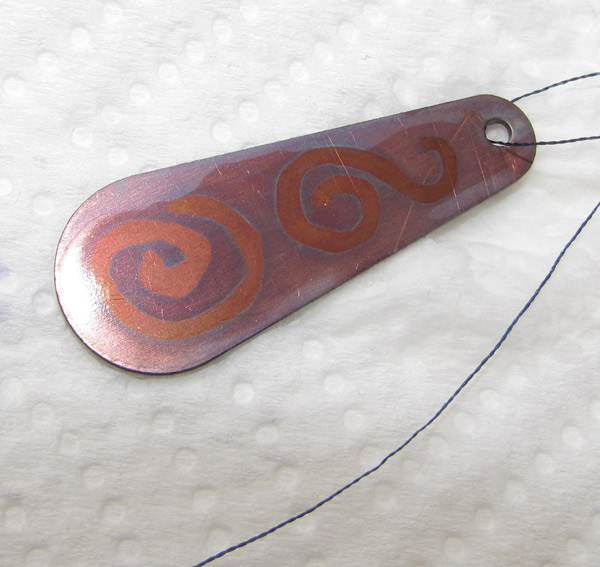
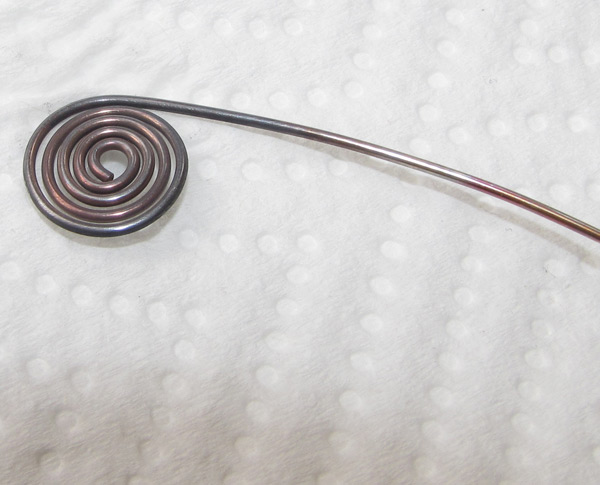
Here’s a close-up of the rich patina on the spiral. Notice how the shading varies from the outer to the inner spirals.
Test 2 (supposed to produce a blue patina)
1 cup of boiling, distilled water
1 tablespoon of ammonia
1 measure of LOS
The colors ranged from vibrant reds and yellows to warm browns and cool shades of purple.
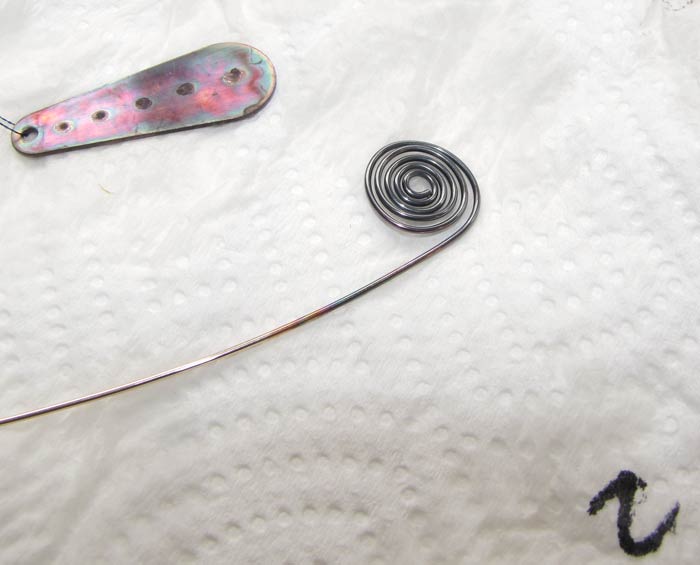
In this close-up of the bronze spiral, you can see the rainbow of colors we got.

Here’s the revers side of the copper piece.
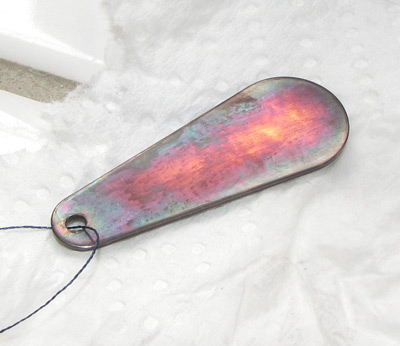
Most sealants will dull bright patina colors (we used Renaissance Wax and you can see the results at the end of the blog).
We determined that the brass disks must have a coating of some sort on one of their sides because we consistently got one side that took to the patina and one side that seemed resistant (which reminds me that, along with clearning your piece prior to patination, sometimes light sanding is in order also).
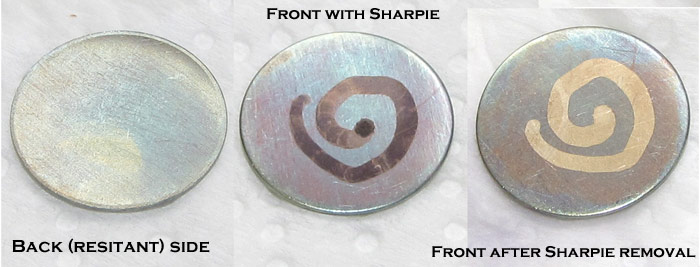
Test 3
1 cup of hot coffee
1 measure of LOS
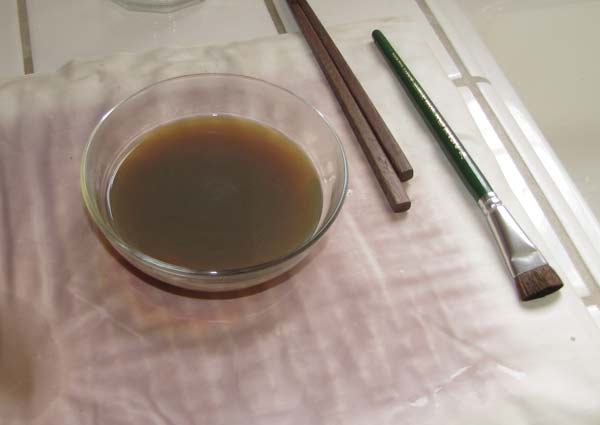
We both loved the rich brown colors achieve by test 3. The pieces had an aged vintage bronze tone (except for the brass piece that I think had a coating on it).

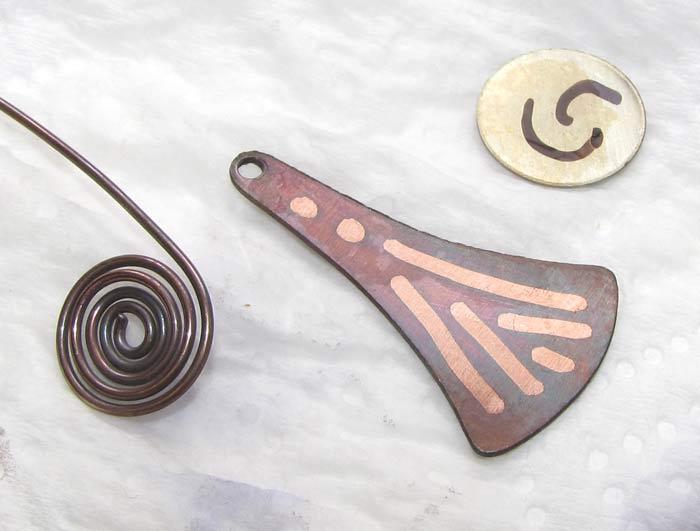
We then moved to the garage for the tests that involved the chemicals we had purchased.
Test 4
(supposed to create apple greens)
(prep)
A straight LOS/water combination to get a medium brown tone on the pieces first.
Then the pieces were heated to 200 degrees F in a klin.
Test 4 (additional phase A)
Then they were dunked into a mixture of:
236 ml hot, distilled water
1 tablespoon cupric nitrate
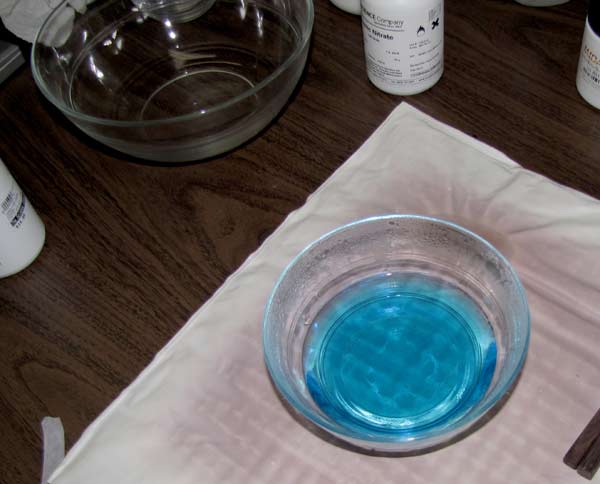
It was supposed to create a light green patina, but we didn’t see much effect.
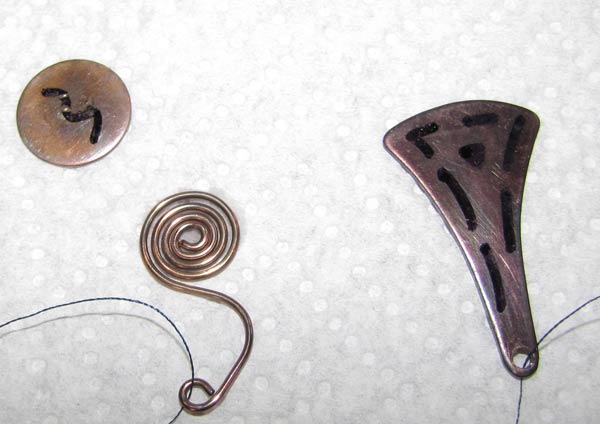
So we decided to heat (Blazer micro-torch) the copper piece and re-dunk it in the test solution.
The torch removed most of the Sharpie resist and concentrated one dot of it on each place where it had been (which couldn’t be removed with alcohol).
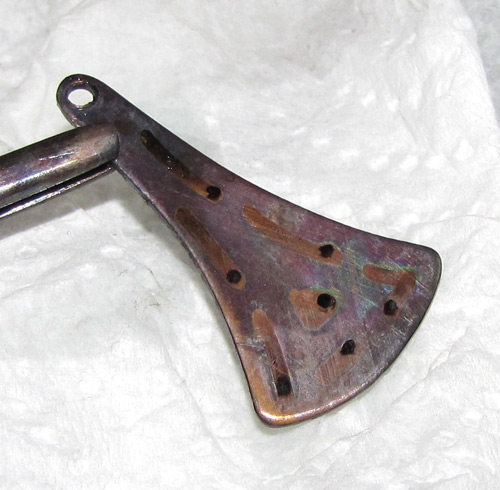
We continued heating the copper piece and redunking but never achieved a green patina.
The bronze spiral didn’t seem to be having any effect from the solution so we left it in for a total of 8 minutes. When we removed it, there was a coating on it that easily flaked off when touched.
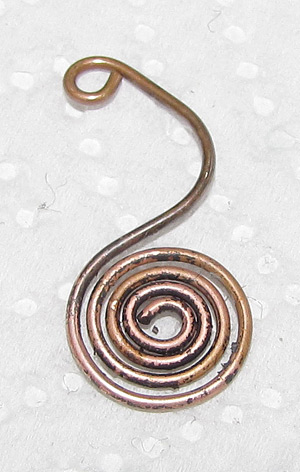
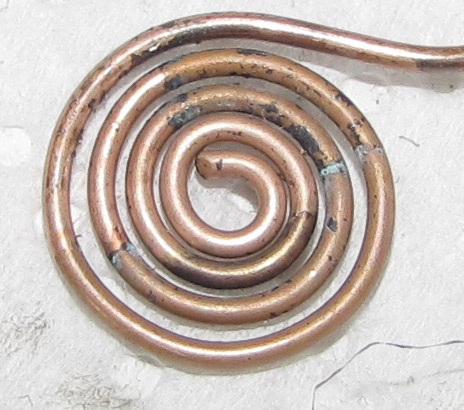
We did notice two small spots on the bronze spiral that looked like the green/blue of naturally weathered copper and bronze. We concluded that even though our directions stated "dunking" rather than "prolonged saturation, an overnight soak might be advisable if we wanted to achieve the promised colors.
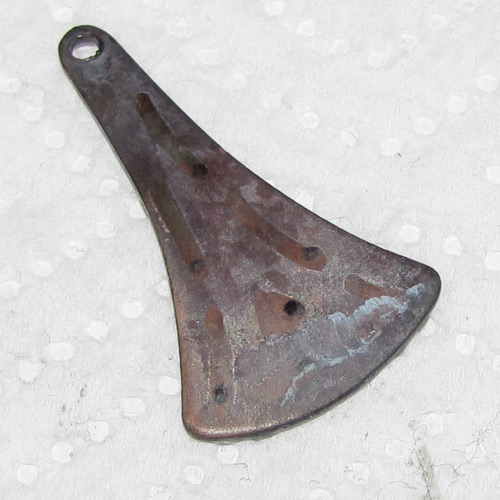
The only effect to the brass disk in test 4 was that it removed the original LOS patina we’d put on it.
So then we moved to additoinal phase B of test 4…
Additional Phase B of Test 4
A second bowl with:
236 ml of hot, distilled water
1 teaspoon of Ferric Nitrate
The results were not dramatic, but were interesting enough to try with variations in the future.
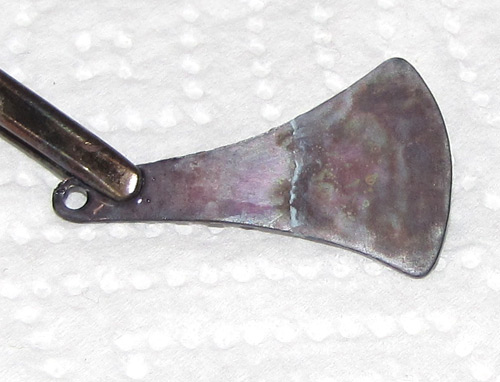
Test 5
(supposed to create blue)
236 ml hot, distilled water
50 grams Ammonium Chloride
4 grams LOS
Since we weren’t using LOS in solid form, we just guessed at the amount of LOS needed.
The black coating on the bronze spiraled wire flaked off when rubbed gently, but underneath the flakes was an amazing vintage bronze tone that we both fell immediately in love with.
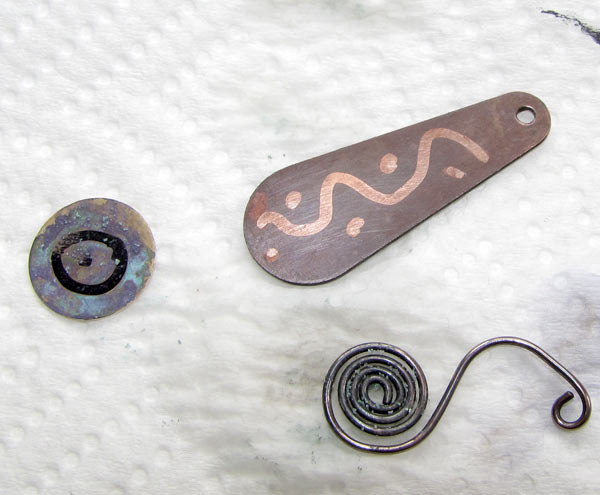
Instead of dunking the brass disk into the solution, we brushed some of the solution onto it and let it sit. The other two pieces (the copper and bronze) were dunked.
The piece where we brushed the solution on and left it does seem to have created a nice patina. We just needed to be patient.
We decided that if the solutions were left on the pieces for a much longer period of time they would probably have a richer patina. So then we painted some of the solution on the copper and bronze pieces too (the two pieces that had previously only been dunked).
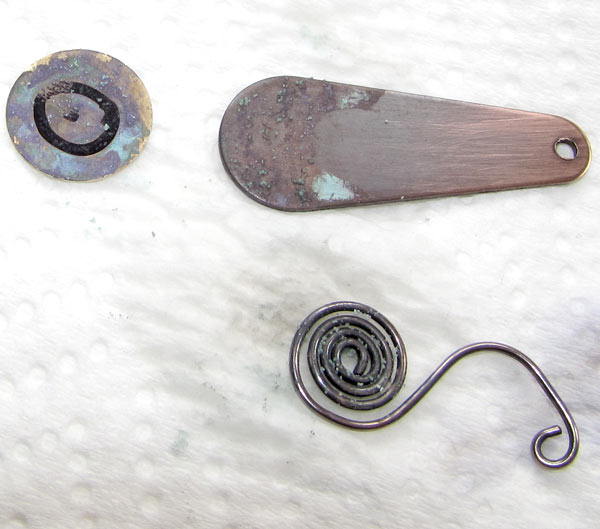
Test 6
A bed of salt and ammonia
A closed container
A way to suspend your piece(s) in the fumes of the mixture
We used regular rock salt (available in grocery or drug stores) mixed with the same lemon-scented ammonia from before. Equal-ish parts.
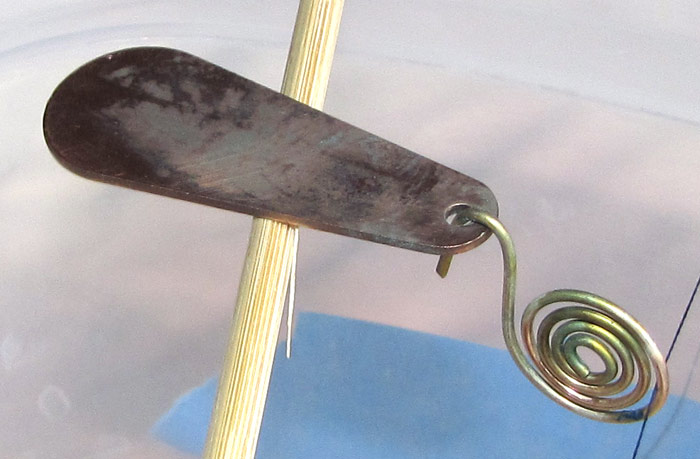
We then taped a piece of thread across the top opening, placed our pieces on the thread, and closed the lid.
Some say you get a nice patina after 15 minutes, but we checked the results and decided they were pretty faint so we went back to lunch and left the fumes to do more work.
After 45 minutes, the results were more noticeable. Here we’ve lifted the copper piece up so you can see the patina on the back of it. Notice the wild shades of green and yellow on the bronze spiral holding the copper piece.
So that's it for now.
We both found it interesting that some of the patinas we had the most success with were the “kitchen ingredients” solutions, rather than the specially purchased chemicals. We also discussed that within each recipe there is still room for experimenting by altering things such as dunking time, temperature of liquids, the application of torch, etc.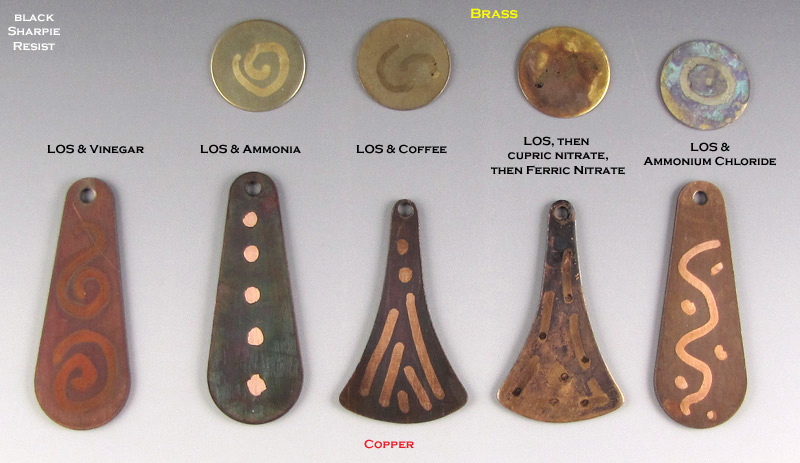
Here's Elizabeth's write-up of our experiments: http://threadinglightly.blogspot.com/2012/03/patina-party.html