There are many DIY photo cube tutorials on the internet and I'm adding one more now.
For this photo cube, you can use any size box that fits your needs. The one in my example below was made out of a necessity to fit into a particular space (12 inches wide).
I hate having to set-up and tear-down my photography arrangement based on what I'm doing each day. Wouldn't it be nice to just have a little corner space set up at all times for when I want to shoot a picture?
I found a 12-inch wide space in my workroom but the trick was setting something up that worked to my rather severe specifications and still fit into the tiny space provided.
Lampshades (my previous DIY photo cube tutorial) were not an option this time unless I wanted to hit up a dozen stores looking for the exact shape and size needed. So instead, I took a used USPS priority mailing box and an Exacto knife and began.
I took a used USPS Priority shipping box. That is the Large Flat Rate box (12x12x5½ inches).
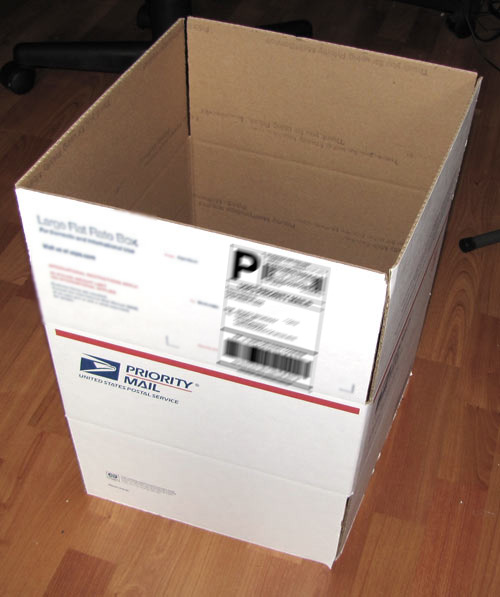
Using my Exacto knife box cutter, I removed one of the sides.
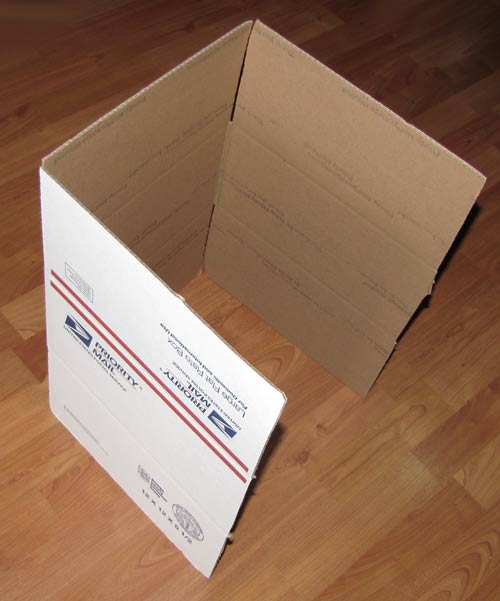
Then I close up one end with tape (I use my strong, wide packing tape because I don’t want this to pop open while I’m using it).
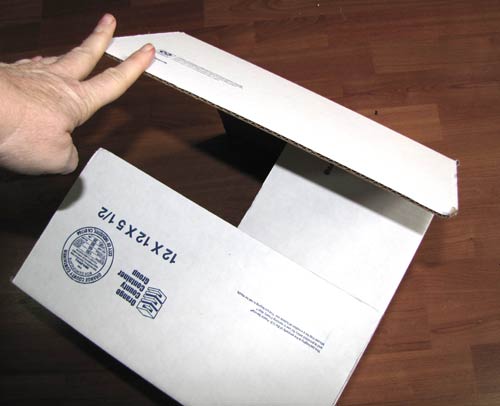
This is what it should look like now.
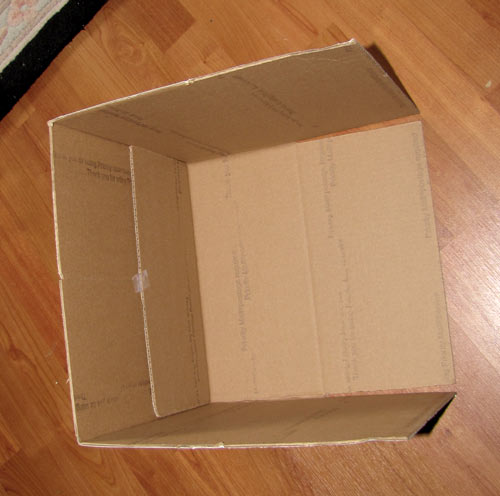
Then I took the leftover piece of cardboard from the side panel I had previously removed, cut it off where the crease is, and put a sheet of aluminum foil (Reynold’s Wrap) on it.
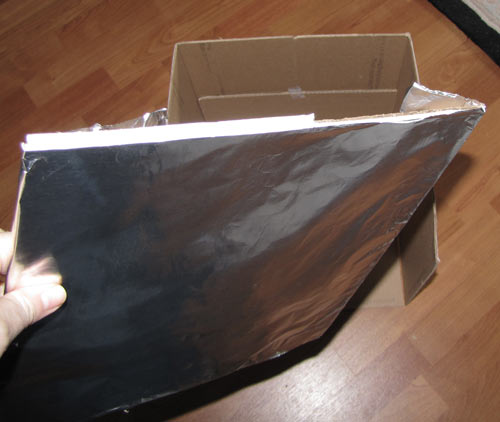
This sits nicely in the back of the box and creates a reflective surface to more brightly illuminate your piece without causing harsh reflections.
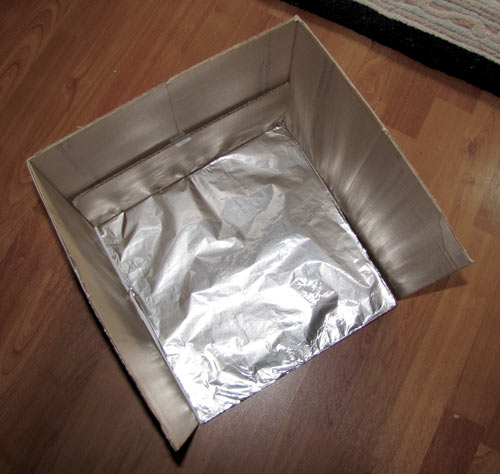
Next lay your cube/box down so that one of the sides is facing up and cut out the center, leaving a margin of about an inch or so. Don’t worry about jagged edges. This is not an aesthetic creation.
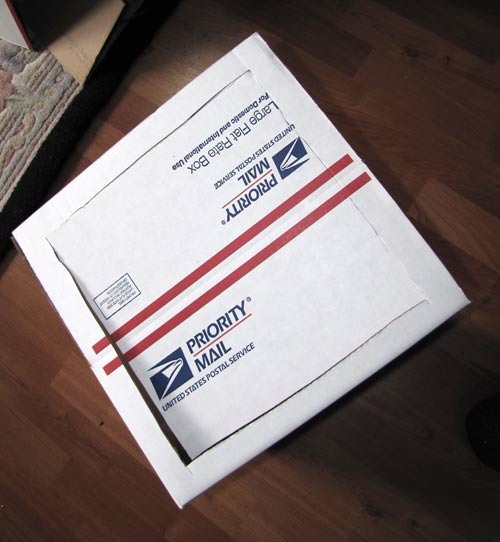
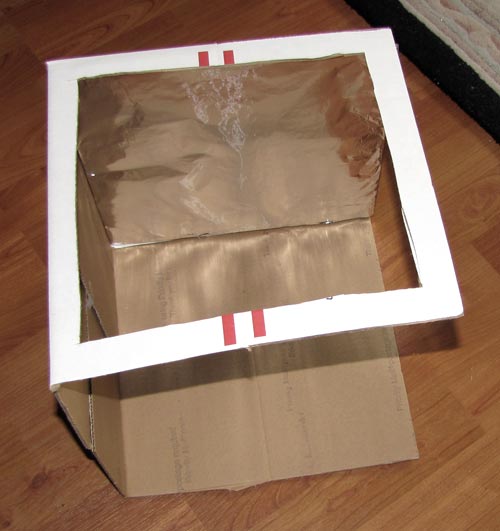
Cut out squares on the other two sides.
Now your six sided cube should have:
- a completely open bottom
- a completely open front
- two framed sides with cut-out openings
- a framed top with a cut-out opening
- a solid back that has foil facing inward.
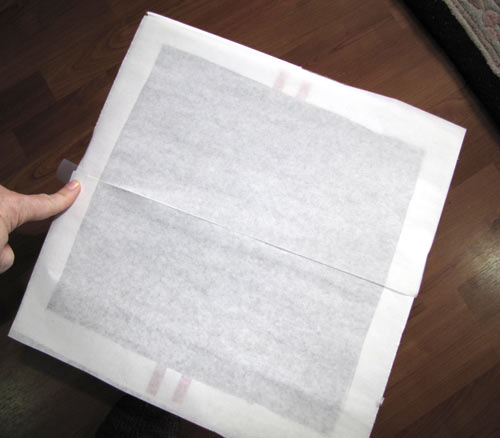
The final step is to tape (Scotch tape is fine for this step) vellum or tracing paper over the three framed openings. (In a pinch, you can try wax or kitchen pastry paper.)
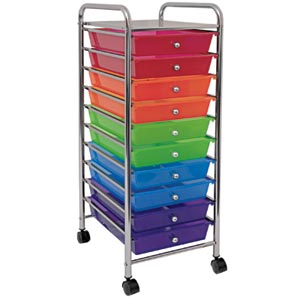
Here’s where I have my photo cube . The box is resting on and taped to the two metal handles at the top of this rolling shelf unit. This cart, btw, is available through Target and Cosco and other places. The drawers come out completely (something I require in my workroom) and it’s on wheels so easy to move.
Here, you can see how it’s taped to the metal frame of the cart.
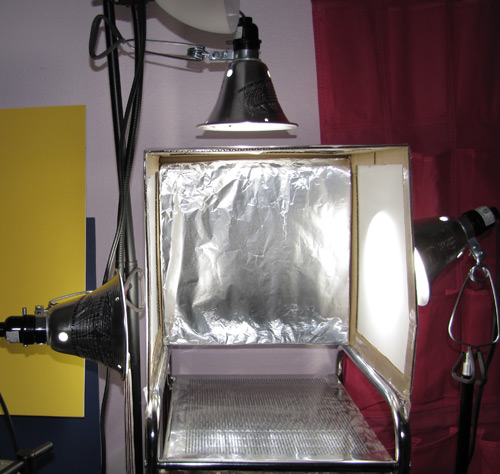
The lighting is three Bayco 5½ inch aluminum heat lamp frames from Home Depot (I removed the metal pieces in front). These have clamps and swivel joints so it’s pretty easy to position them where I wanted. The cords aren’t real long, so I had to bring a power strip close by.

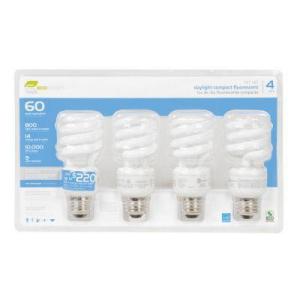
The bulbs (also from Home Depot) are EcoSmart 14-Watt (60W) Daylight CFL Light Bulbs.
I bring my tripod over if I want an angled shot, but usually I just use my table-top tripod positioned straight down.
Here are some photos taken with the new set up (and a point and shoot camera).
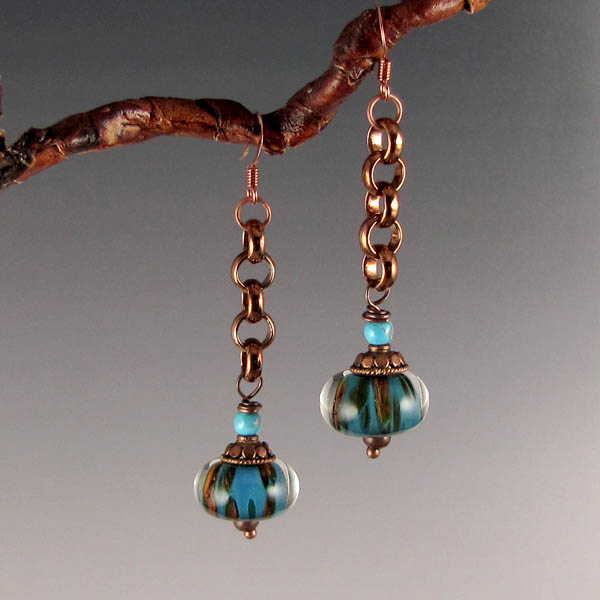
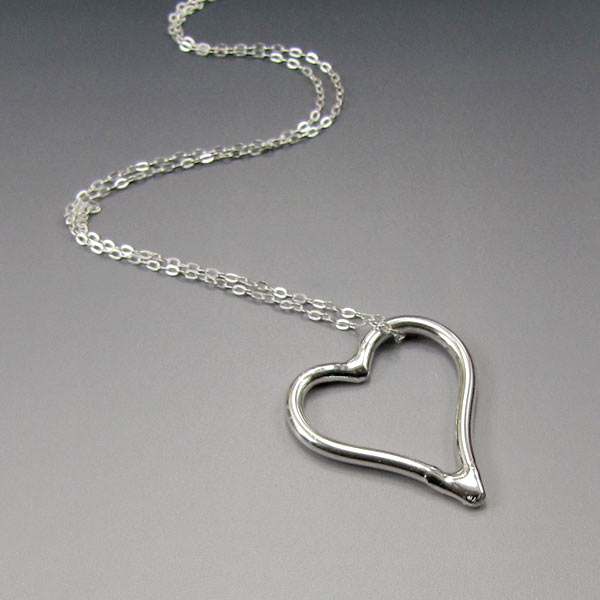
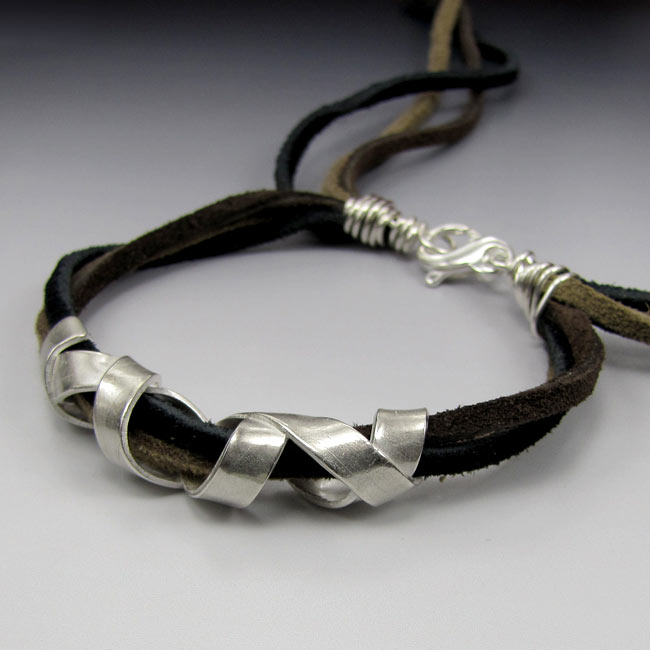
BTW, I offer the gradient paper seen in these photos on my website. You print them out yourself (use a good quality setting when printing). Click here to see the options.